
Give Your Rag Doll Personality
Making rag doll hair is a fascinating part of the rag doll-making craft. It is also the most rewarding task because it is an opportunity to give handmade dolls a personality, something that can only be achieved through their unique hairdos and clothing.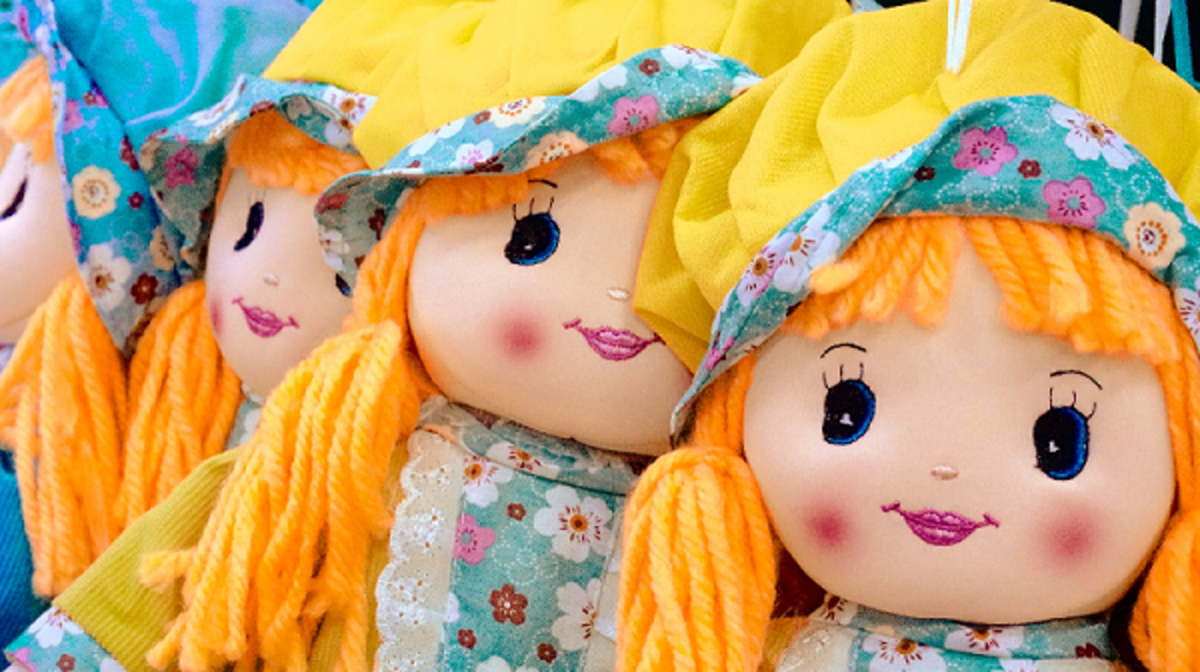
There are many ways to make hair for rag dolls, but the three most effective materials to use are knitting yarn, fabric strips, and mohair.
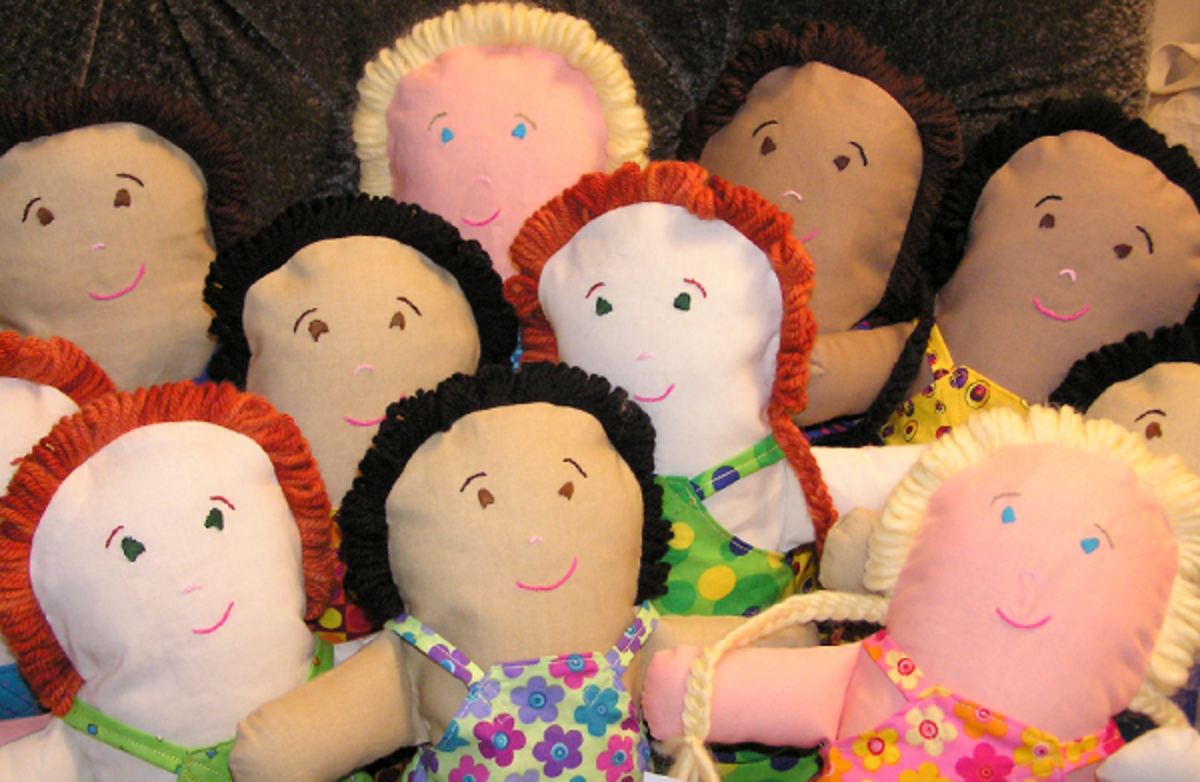
From gender-specific haircuts to natural, classic, and trending styles, the hair you create for your rag doll gives it character and helps relay the intended personality.
The is a variety of materials you can use to make rag doll hair, but your choice will always depend on the look you are trying to achieve.
Whether you are making a young doll with short, cropped hair or one that is supposed to be older, you should make sure that your doll's hair matches the character you are creating. For instance, if you are making a Diana Ross doll, you’ll want your doll to have a huge Afro-style. Whereas, if you want a Cinderella doll, your doll must have long silky hair.
Supplies and Materials
Because they are handmade toys, knitting yarn (wool) is probably the best material to use, as it stands the test of time, washes well, and is easy to attach to a doll’s head.
Other popularly used materials for dolls' hair include mohair (a fluffy, lightweight, and luxurious fibre known for its soft sheen), fabric strips (you can cut these from old or ready-to-be-discarded clothing), and synthetic hair weaves (these can be securely stitched onto a doll's crown, but I prefer yarn and fabric for a handmade look).
Before you start to make your rag doll’s hair, you need to gather together all the tools and materials you will require. You will need:
- A pair of scissors
- A sewing needle and thread (or a sewing machine)
- Ragdoll hair material (yarn, rags, or mohair)
- Scotch tape
- Measuring tape
- Crafting needle
- Tacky glue (if you are using synthetic hair)
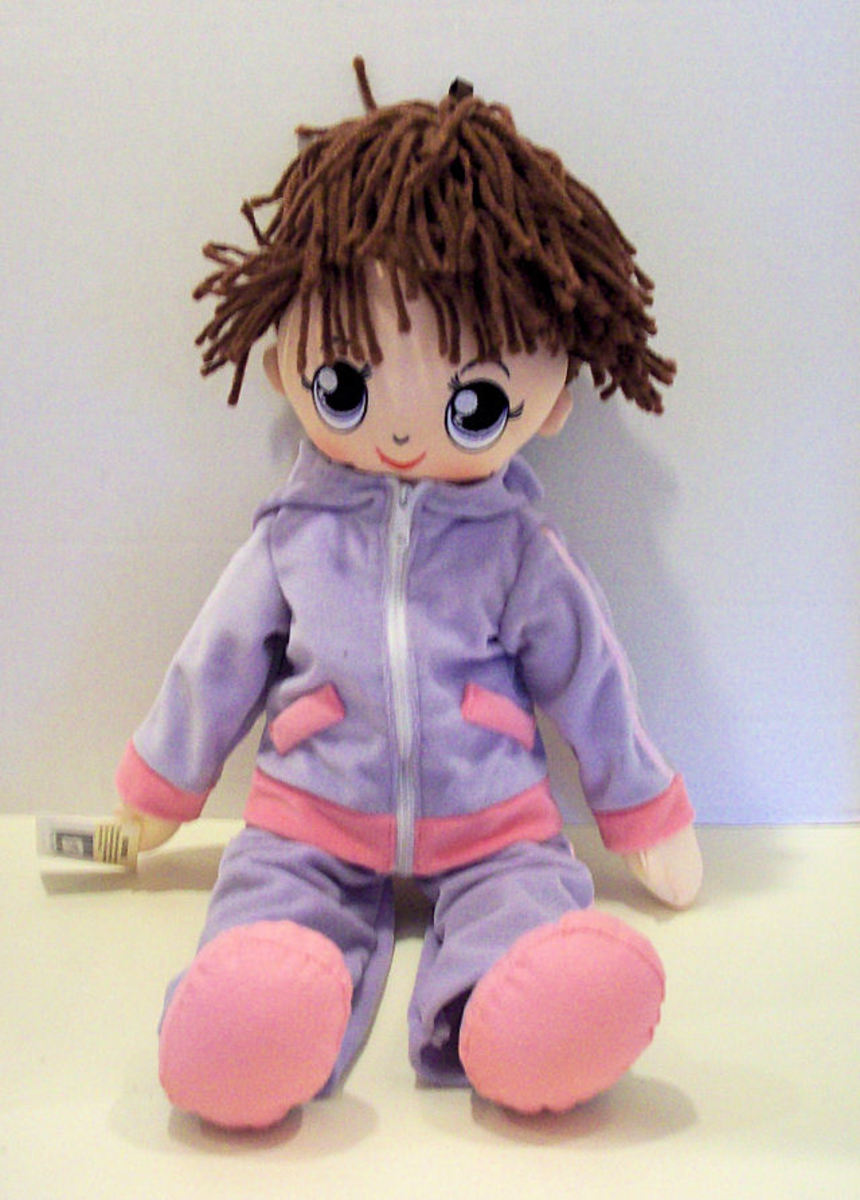
Knitting yarn is a great material to use when creating hair for your rag doll.
How to Make Rag Doll Hair With Knitting Yarn
Natural yarn is a fibre commonly made of sheep's wool or angora with plies spun together into thicker strands. The number of plies, single, two, or five, will affect the drape and feel of the rag doll's hair.
For hair, use nothing less than a 6-ply yarn if you want thick-looking hair that falls well. For thinner strands of hair, you can use a skein of 4-ply yarn. I have found that for my work, the best types to use for lush hair are thick yarns. And I love that they come multi-coloured too; the modern rave in hair colours.
Instructions:
- Get some yarn, about one skein of 6 ply yarn and cut 30 strips, six inches long.
- Separate the ply from each of the 30 pieces.
- With a crafting needle, pull the yarn strip through the head of the rag doll, stopping the yarn from pulling out by tying a knot at the end of the yarn strip.
- Work the yarn into the whole head, putting the strands closer and closer together.
- Continue with this until you have exhausted the yarn you are working with.
- If the fullness of the hair is unsatisfactory, cut more yarn and continue to attach as in #4.
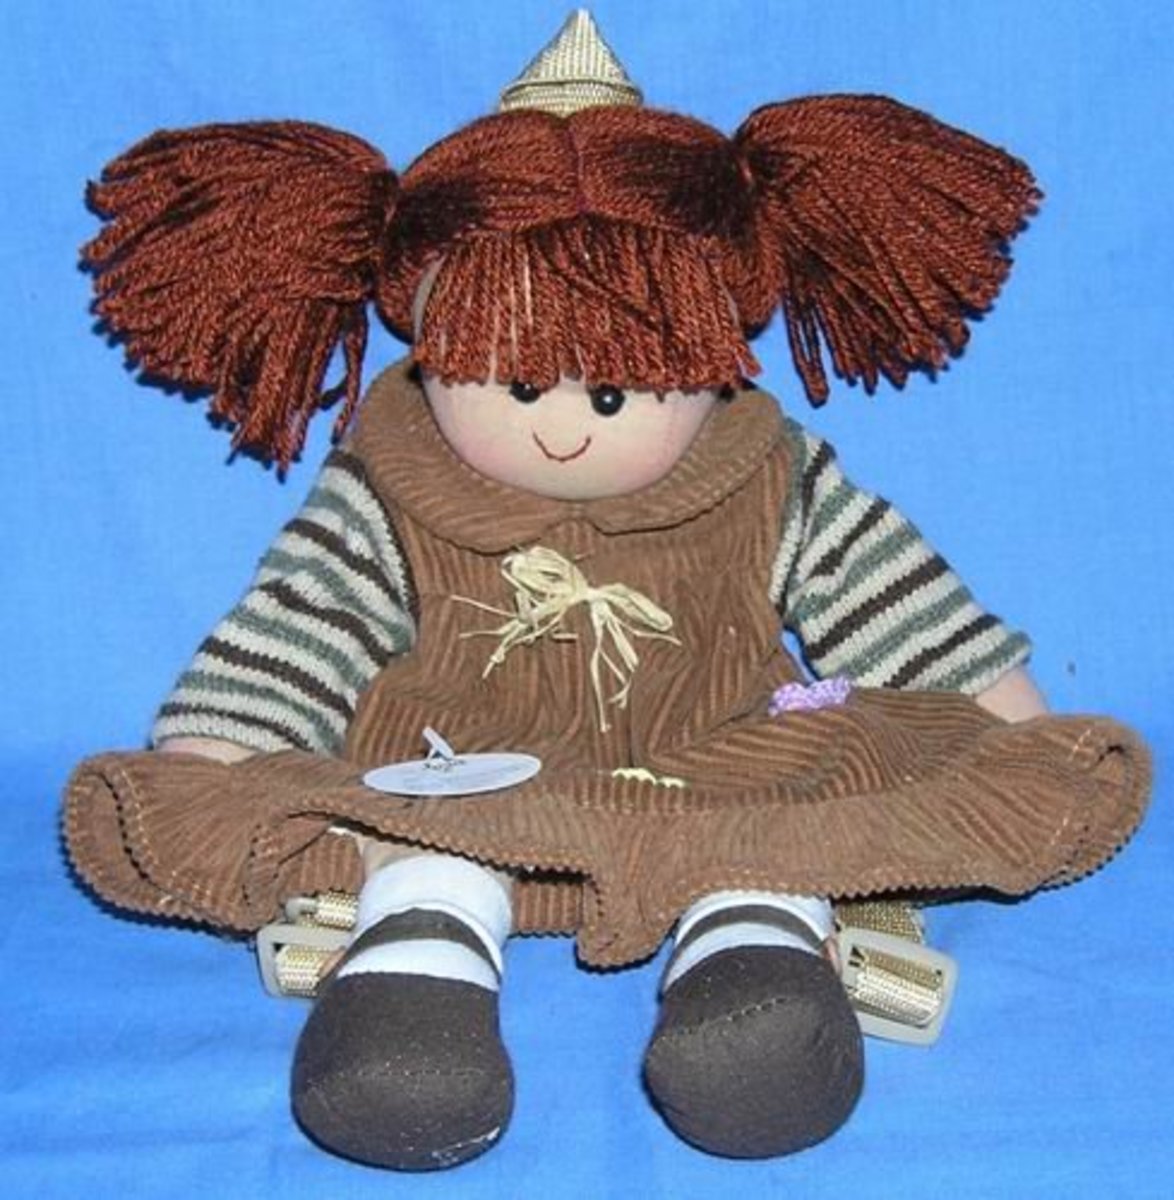
- Style the doll’s hair any way you wish, or simply tie it with a colourful ribbon into a ponytail.
How to Make Rag Doll Hair With Fabric Strips or Rags
We all have clothes at home that are ready to be discarded, so, what best way to put that old t-shirt or pillowcase to use than to create your rag doll's hair from it?
Hair made from fabric strips must not end up looking clumpy and ‘hard’, so it is best to use softer fabrics like cotton which allows the hair to look and feel soft. Only use plain coloured strips. You don’t want a doll’s head full of patterned hair.
Instructions:
- Cut out strips of 1” x 12” lengths from the old cloth.
- Lay the first strip across the doll’s head with the ends hanging in the direction of each ear.
- Use a regular needle and some thread to stitch the strip on the rag doll’s crown.
- Lay a second strip directly next to the first and stitch it down.
- Work towards the back of the head and continue to stitch to the scalp until you reach the nape of the neck
- Add bangs to the rag doll's forehead with short strips of fabric.
- With the two distinct sections of hair forming pigtails, tie each with colourful ribbons.
- You can tack the pigtails with the ribbons neatly onto the rag doll's scalp using a needle and thread.
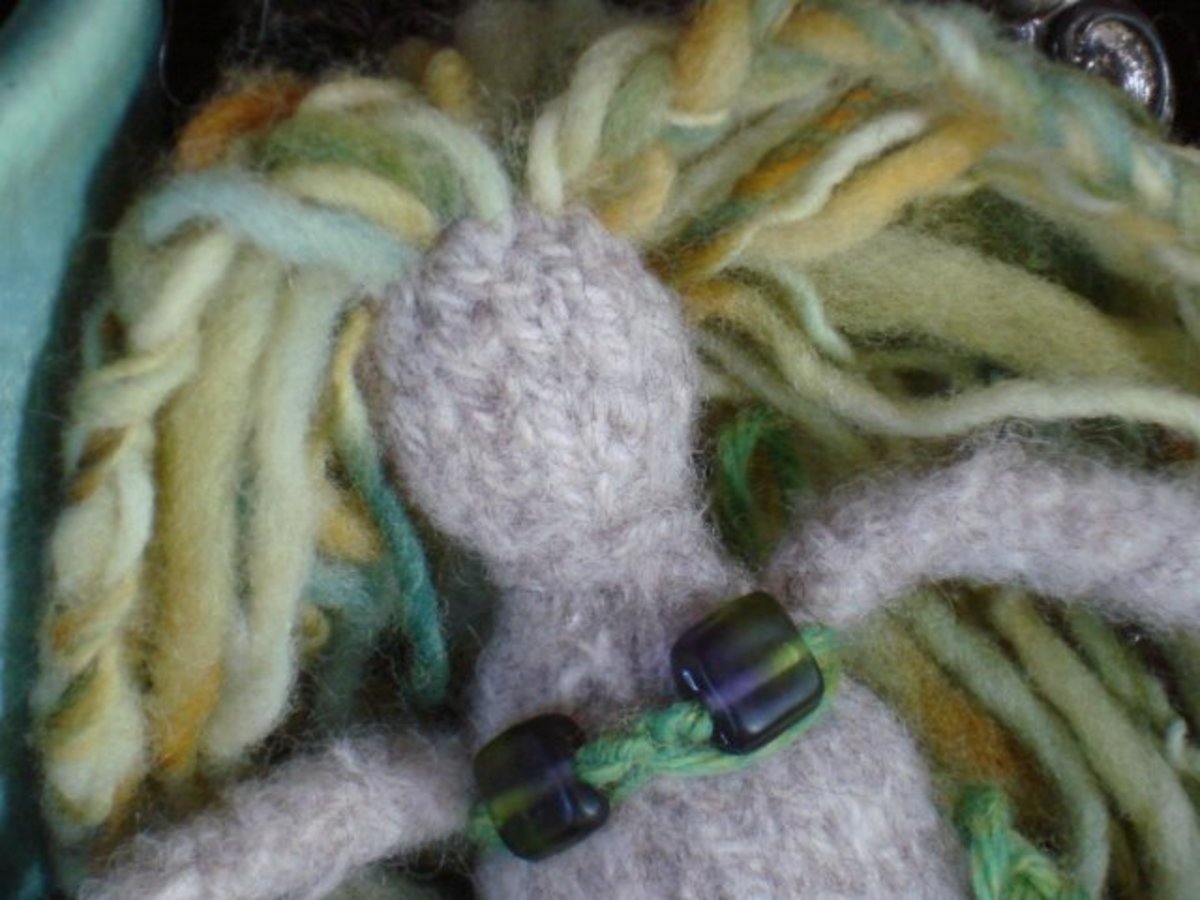
Mohair is another great material you can use to create hair for your rag doll.
How to Make Rag Doll Hair With Mohair
Mohair is known for its luxurious look and feel. Though it is more expensive than yarn and fabric strips, it is very stretchy and springs back to shape instantly.
When washed gently, mohair will resist wrinkling and sagging when dry and because it is so fluffy, it makes great rag doll hair. Mohair must not be used for toys and is only used on rag dolls that serve as decorations or collections.
Instructions:
- Buy half an ounce of mohair to do this.
- Starting at the back of the hair at the neck, place a small section of mohair, felting it into place using a felting needle. Push the needle in and out of the doll's scalp and the mohair about 20 times (depending on the size of the rag doll’s head).
- Moving close to the first section of mohair already attached, add another section, using the same needle motions.
- Working from the back all the way to the front, continue adding the mohair till the head is full of hair.
- Create a 'parting' using the same felting needle and sew a line from the front to a point that you desire.
- You can add a small section of mohair in the front to create a fringe.
Making a rag doll is easy and a whole lot of fun. It is a craft that is enjoyed by both young and old.
If you are a beginner and just need some tutorials or a guide on how to make rag dolls, there are numerous guides online that will teach you how to create unusual dolls with great features. Its step-by-step instructions will guide you through everything, from cutting out the patterns to painting faces, making the hair, and designing the apparel.
Happy Crafting!
(Originally published by the author at hubpages.com on 11/20/09)
(Originally published by the author at hubpages.com on 11/20/09)
Articles of interest